Monday, February 28, 2011

Mommy, Monet and Me! Letter R

Rainbows, Rolling, and Runny Art

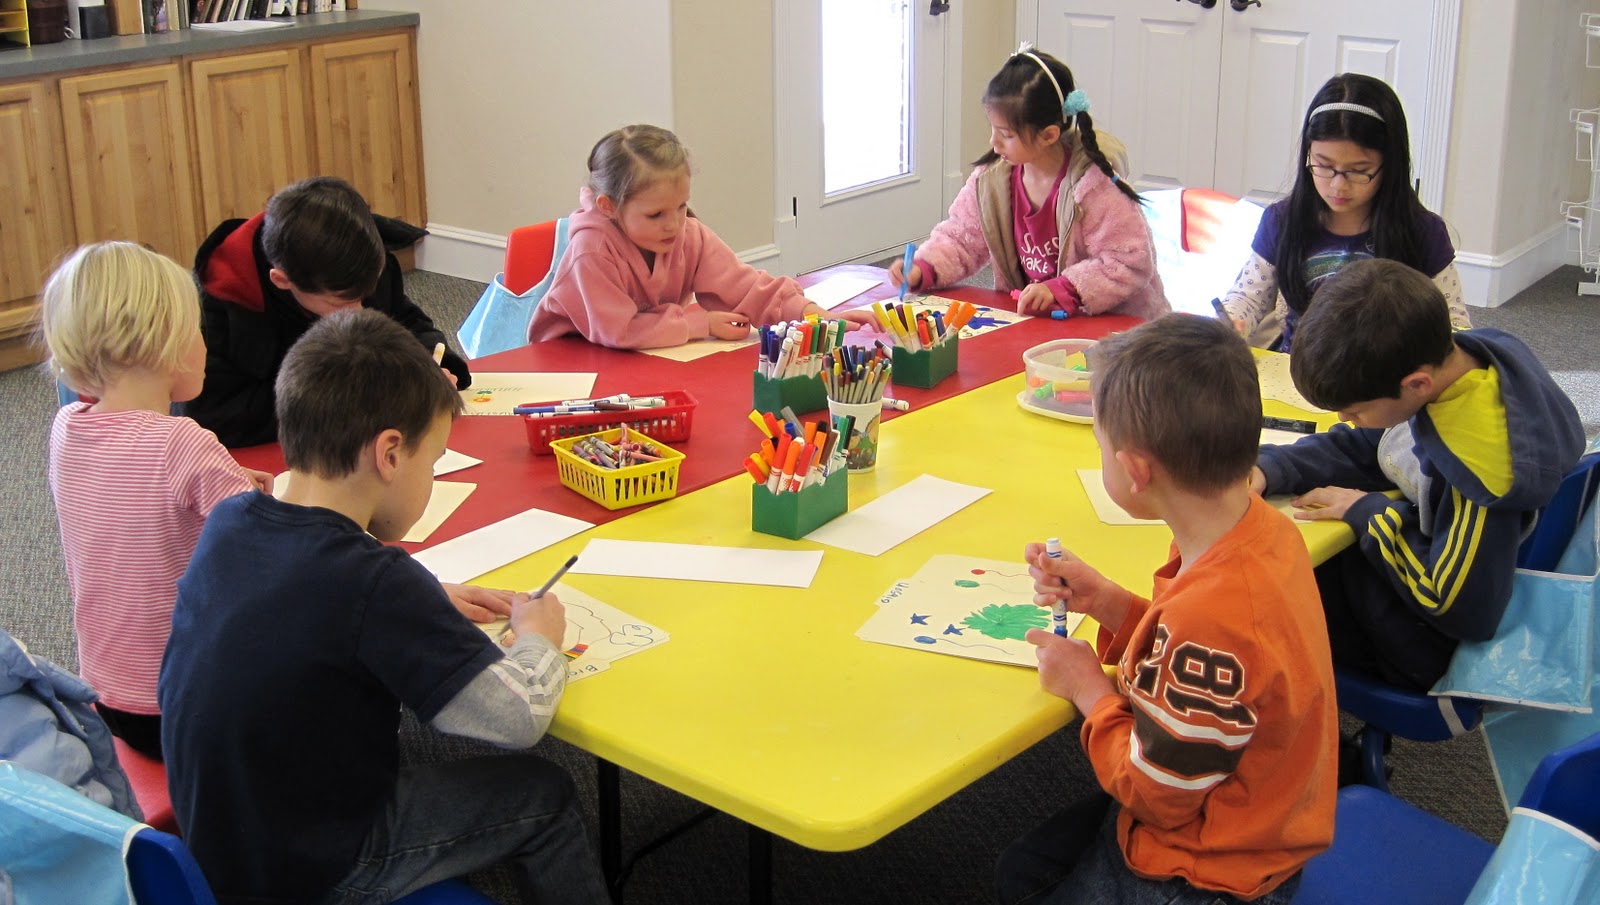
Today in MMM we created art that starts with the letter R.  It was a very colorful day!

Rainbows

Materials: tissue paper squares, water, paintbrushes, rainbow coloring page (optional)

I use tissue paper to paint with kids of all ages.  It is a fun way to paint and mix colors without the potential mess of paint.  Simply gather up old tissue paper or buy a variety pack at the store and cut or tear into small pieces.  Next draw a rainbow outline (with permanent marker), or use a coloring page for your rainbow.  Place a square of tissue paper on the rainbow outline and use your paintbrush to add a little water on top of the tissue paper.  Continue adding tissue paper and overlapping until the rainbow is completely colored.  Let dry flat on a counter.  When the paper is dry each square of tissue paper will flake off leaving the color behind on the rainbow! 

Rolling

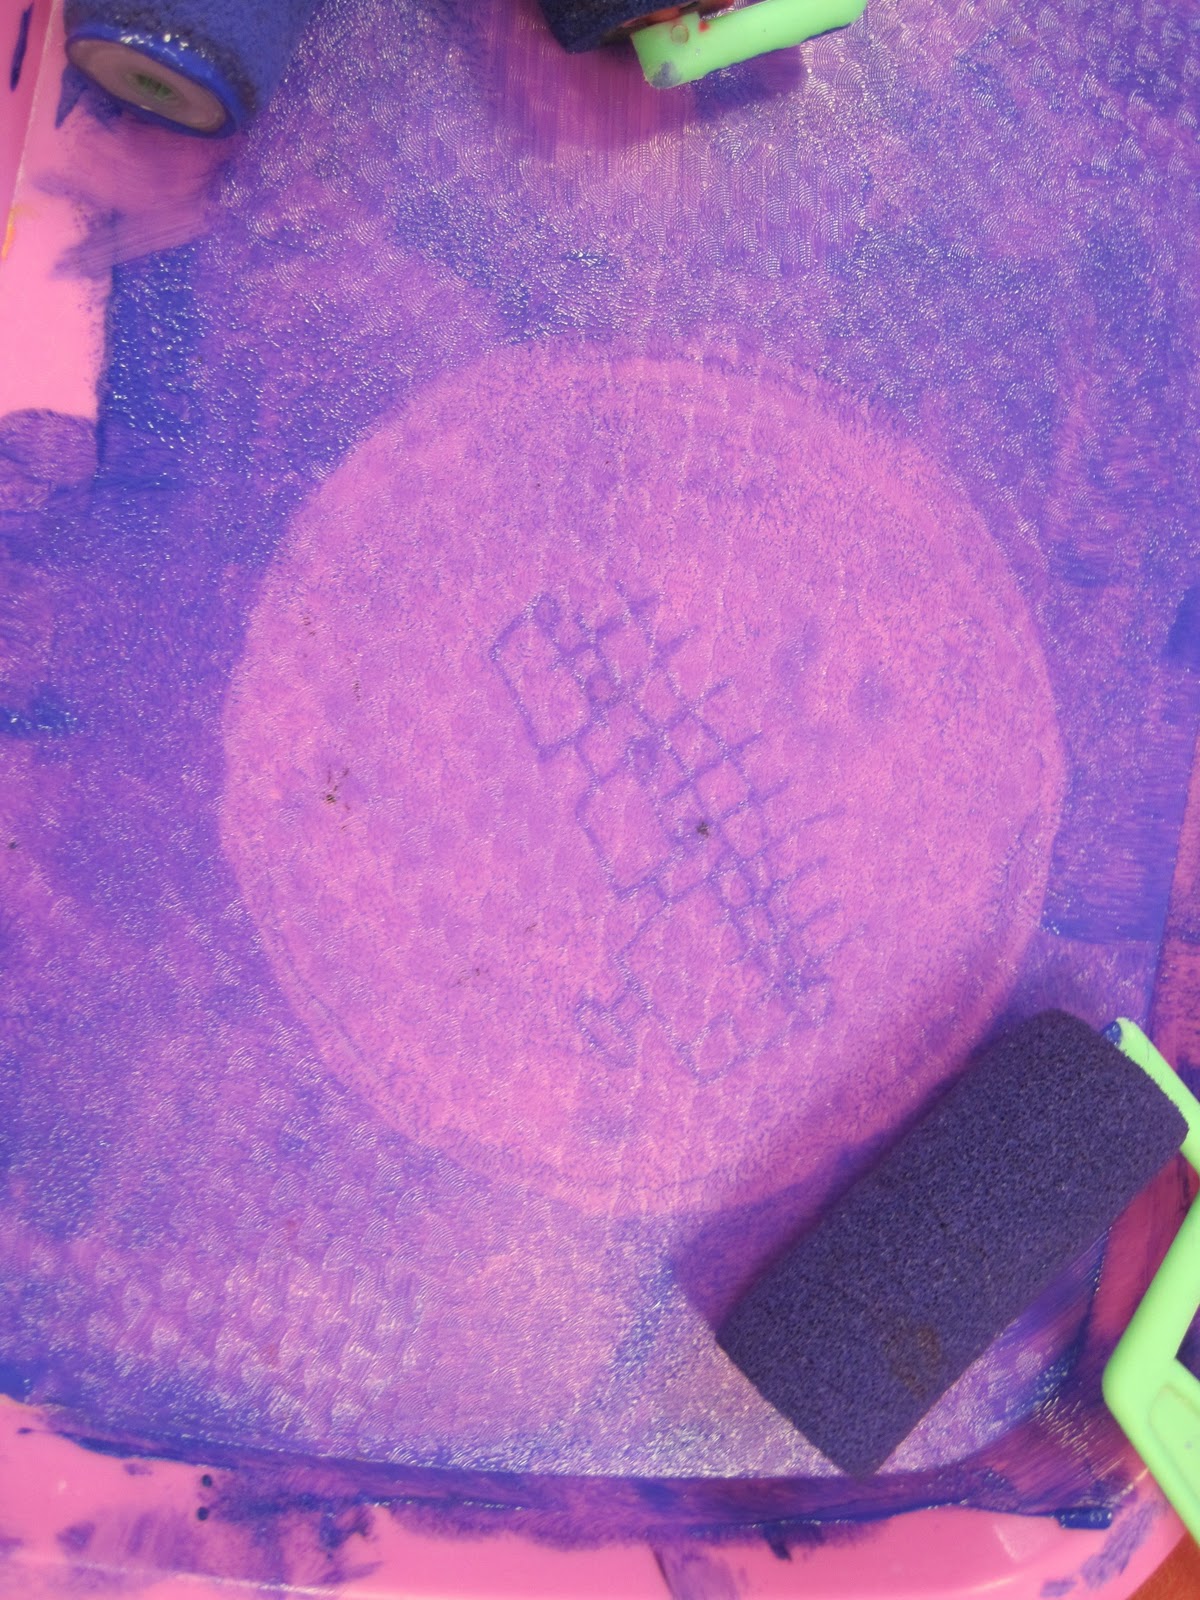
Materials: Paint rollers, red, yellow and blue paint, large paper, variety of objects to roll in paint (balls, toilet paper tubes, etc..)

This is a very free form activity which is perfect for toddlers.  Too many instructions tend to frustrate little ones, so keep it simple.  Put some paint out and things that they can roll in the paint and see what happens!  They love seeing the primary colors mix and create new colors.

Runny Art

Materials: Eye droppers, food coloring, water, watercolor paper.

For this activity i gave the children three cups of water, each one with red, yellow or blue food coloring in the water.  Put quite a bit of food coloring so the colors stay vibrant! They used eye droppers to suck up the water and then to drip it on their page.  Watercolor paper or other absorbent paper keeps this project from getting too runny!  Once a color is dropped on the paper, the kids picked the paper up and moved it around to let the water run all over the paper.  Colors begin to mix together and the results are different every time.  Great for kids of all ages!

Join us next week for the letter S.  We will be doing St. Patrick's Day Art!  Monday from 9:30-10:15am.  375 S. 300 E. Springville

Join our Facebook page to get a free class

Wednesday, February 23, 2011

Jr. Artists: Printmaking

 Here are some pictures from our latest Jr. Artist class.  We learned how to do basic printmaking using styrofoam plates.  To see more pictures visit our flickr site.

Jr. Artists meets every tuesday from 4:00-5:00pm.  Our class is full right now, but we may open another section.  If you are interested in joining our class please call 491-0825 and get on our waiting list. 

Join our Facebook page to get updates on class availability and our upcoming summer programs!  Our schedule of summer programs will be available March 12th. 

Wednesday, February 16, 2011

Jr. Artists: Winter Watercolors

Here are some pictures from our winter watercolor project.  We used painters tape, salt, blue watercolor and crayons to create our beautiful pictures!   See more pictures on our Flickr page.  Next week we will be working on printmaking!


Monday, February 14, 2011

Mommy, Monet and Me! Valentine's Day

Happy Valentine's Day!

Today in MMM we did three Valentine's Day art activities!  Foam Printing, Heart Stencils, and Mixing Pink.

Styrofoam Printing

Materials: Styrofoam plate, dull pencils, paint, paint rollers, tray, paper.

1. First draw your design on the back of a piece of styrofoam with a dull pencil.  Use the pencil to gently carve into the styrofoam leaving an indentation.  I like to use a plate because the lip of the plate gives the kids a handle when they are printing, but you could use any flat piece of styrofoam.  Save and reuse packing materials for this project.

2. When your design is complete roll a thin layer of paint out on a tray or cookie sheet.  Help your little one make it really thin.

3. Then turn your plate over and press your design into the plate (make sure to press each part of the plate down to get good contact with the paint).

4. Pull the styrofoam up and press firmly down onto the paper (again make sure to get good contact on the whole piece of foam).

5. Remove the plate and see your beautiful design on paper. 

This is a great way to make unique Valentine's because you can reuse the plate and make multiple prints of the same design.  Try mixing colors of paint or printing on different kinds of paper.  The possibilities are endless.  Print on card stock to make a beautiful one of a kind card for teachers or grandparents!

Homemade Heart Stencils

Materials: Paper, scissors, paint or bingo markers

1. First cut out heart stencils by folding paper in half and cutting half of a heart from the fold.  Cut a variety of hearts in different shapes and sizes.  Make sure to leave a border, don't cut your heart all the way to the edge of the paper.

2. Now you should have a positive and negative heart shape.  In other words a heart shaped piece of paper, and a heart shaped hole in the other piece of paper.
3. Place your heart stencils on a large piece of paper and use bingo markers to stamp around the edge of the heart shapes, and to fill in the heart stencils.   You could also use markers, crayons, or paint for this step.

This is a great lesson to help your child understand the difference between positive and negative space.  
 
Mixing Pink

Materials: Heart shaped paper, white paint, red paint, paintbrushes

Today we used red and white paint to make beautiful pink paint.  Simply give your child a dish or cup with each color of paint and one paintbrush and let them experiment with color.  They can mix the color on their heart or in the cups.

Each child's shade of pink was a little bit different, but we ended up with so many beautiful pink hearts to decorate our room for valentine's day!

No class next monday because of President's Day!  We will see you again on February 28th, 9:30-10:15 am for the letter R!

Monday, February 7, 2011

Mommy, Monet and Me! Letter Q

 Queens (and Kings), Q-tips, and Chinese New Year Dragons

Some letters of the alphabet are definitely more difficult than others.  Q is one of them.  If anyone out there has fabulous Q art ideas send them my way.  Here are some of mine, and we also threw in dragon puppets for Chinese New Year!

Queens (and Kings)

Materials: Yellow paper, Decorations, Markers, Crayons. 

Simply cut a zig zag line down the middle of a yellow piece of paper.  When you are done you should have two crown like pieces.  I staple these two pieces together and let the little kiddos decorate however they would like.  We used sparkly jewels that we bought from discount school supply, which made the crowns seem super special.  When the crown is decorated, wrap it around your child's head to measure, then remove and staple again to make a crown!  So simple, yet so much fun.


Q-tips
 
Materials: q-tips, watercolor paints, water, paper

Q-tips are a great alternative to painting with brushes for watercolors.  The q-tips are easily manipulated by little fingers, the paint and water distribution is controlled, and the clean up is easy!  I also love that q-tip can get the last remnants of paint out of an old set of watercolors

Dragon Puppets (Chinese New Year)

Materials: Dragon Face, Paper Plate, Crayons, Markers, Scissors, Paper Strips, Paint Stick, and Hot Glue Gun

1. Color and cut out dragon face printout
2. fold paper strips back and forth to create a crinkled look, and glue to paper plate.
3. Glue dragon face on top of paper strips.
4. Attach a paint stick to the back with hot glue.

For more pictures from our class check out our flickr page.

Art Adventure Photos

Chinese Pagoda
 Here are some pictures from our Chinese New Year Art Adventure!  Check out our flickr page to see more photos.

Our next art adventure is Wonderful Wizards!  It will be Saturday March 26th from 1:00-2:00 pm.  Sign up early to reserve your place!

Remember you can get one free art class (Mommy, Monet and Me, Junior Artists, or Art Adventure) when you join our facebook page. 


Chinese Dragon Puppet

Firework Picture

Wednesday, February 2, 2011

Junior Artists Week 1

Here are some pictures from the first day of Junior Artists!  The class is full but if you are interested in our art classes please call and put your name on our waiting list.  If we have enough interest we may open a second class.  If you would like to know more about this class check this blog each week to see our projects in progress!


Working on Portfolio Folders