Showing posts with label Toddler art. Show all posts

Monday, November 7, 2011

Mommy, Monet and Me! Letter D, E, F

 Dot Art, Easel Painting, and Fingerpainting

We are catching up after missing a few weeks of MMM.  So today we did art that started with the letters D, E, and F.  Our activities were really simple today, but so fun.  We had a lot of sweet kids making a lot of art!

Dot Art

Materials: Bingo Markers, Paper
This is a simple activity for a rainy day.  I love bingo markers.  They are easy for kids to use.  Children of almost any age can enjoy stamping and creating designs using these markers.  Another option if you don't have bingo markers is to use pencil erasers on a stamp pad.  This creates a similar effect, but is smaller.  If your child is working with a small tool like a pencil eraser, give them a smaller piece of paper so that their work will fill the space.


Easel Painting

Materials: Easel, watercolors, water, paper

Children love to paint on easels.  It seems so grown up!  You can find inexpensive table easels at thrift stores.  This is a great open ended activity.  Simply teach your children how to dip the brush in the water then paint and let them paint away.  Watercolor paints are a great option for young artists.

It is important to let your children paint freely.  You will be amazed at their creativity, and how much they love being able to choose their own colors and experiment with the paint.  Let them learn through trial and error about mixing colors, and using the water. 


Fingerpainting

Materials: Purchased or homemade finger paint, paper

Not all kids love to finger paint, or to get their hands messy, but make sure that you give them a chance to try.  Often kids will be more willing to try finger painting when they see their parents try.  If your child loves getting messy save this activity for the summer and let them finger paint outside windows, or sliding glass doors.  Finger painting is also a great way for children to learn about color mixing and to see the color change before their eyes. 

Next week the letters G, H, I!

Thank you so much for all the love and support that has been given to us at the loss of our sweet son, grandson, and nephew Jonah Hall.  We are grateful for the love of the wonderful moms and children that come to Mommy, Monet and Me!

Wednesday, September 28, 2011

Mommy, Monet and Me! Letter C

 Crayons, Carpet, and Corn Syrup

This week at Mommy, Monet and Me we had such a great group of toddlers learning about the letter C!  We created art with color changing crayons, made carpet prints, and painted with colored corn syrup!

Color Changing Crayons

Materials: Old broken crayons, muffin tins

Making your own color changing crayons is really easy. You basically just take old crayons and melt them down in muffin tins or any other kind of heat proof mold.  Once the crayons are melted you let them cool and they become solid again.   Here is a link to the specifics on time and temperature for melting.

TIP: Soak your crayons in hot water to remove the paper, instead of trying to peel each crayon individually.  I don't know why I never thought of this before, but it worked like magic. 

TIP: Find an eager little helper to help you smash the crayons!  I put the crayons in a thick plastic bag and then let my niece do the smashing. She loved it.

Carpet Prints
Materials: Carpet pieces, paint, rollers, tray, paper.  

Kids get really excited when you tell them they get to paint on carpet.  It seems like they are breaking all the rules.  You can get carpet scraps or samples from local carpet stores.  This activity is more fun when you have a variety of kinds of carpet.   We used paint rollers to apply the paint to the carpet squares and then pressed the painted side onto our paper.  The results are pretty cool.  When you are done you can wash the carpet squares in the sink and leave them in the sun to dry and use again.


Corn Syrup Painting


Materials: light corn syrup, food coloring, paintbrushes or q-tips, cardstock

To make corn syrup paint simply combine a small amount of corn syrup and food coloring in a container.  You can use a paintbrush or q-tip to apply the paint to a thick paper like card stock.  The paper needs to be thick to handle the syrupy paint. 

Why paint with corn syrup?  When it dries it stays shiny.  It swirls together beautifully without getting too muddled and brown.  It is totally edible...for those little ones who like to put everything in their mouth.  It washes off surfaces and hands pretty easily with a little warm water.  The food coloring can dye clothes so better to wear a smock or strip them down and let them get messy!

Hope to see you next week for the letter D!

Tuesday, September 20, 2011

Mommy, Monet and Me! Letter B

 Letter B: Bubble Prints and Bead Bracelets

There are so many great activities to do with the letter B, but my favorite activities involve bubbles.  There is something magical about creating a bubble, and something even greater about capturing a bubble in art.

Blowing Bubbles


Materials: Dish soap, food coloring or tempera paint, medium size containers or bowls, straws, watercolor paper.

WARNING: many young children are used to sucking liquid through a straw and will accidentally suck the liquid into their mouths in this activity.  Make sure you only use non-toxic paints, and cut a small triangle out of the straw so they can't suck it up as easily.

Mix about a tablespoon of dish soap with 2 or 3 tablespoons of paint, and 1/2 cup of water.   Let the child blow through the straw into the liquid making bubbles.  When the bubbles rise above the rim of the container place the paper on top.  The colored bubbles will leave a bubble print behind.  Repeat on the same paper for a cool layered look.

Bubble Wrap Prints

Materials: bubble wrap, paint, paper, paintbrushes

This is a great way to recycle your old bubble wrap.  Paint directly on the bubble side of the bubble wrap, then place paper on painted bubbles and press lightly to make contact with all of the bubbles.  Remove paper and voila, beautiful bubble art.  I think the smaller bubble wrap works best for this project.

Bead Bracelets

Materials: Beads, buttons, pipe cleaners.

This is a great fine motor activity.  Place beads and buttons in a small bowl and let your child thread them onto a pipe cleaner.  When they are all done they can twist the pipe cleaner to make a bracelet.  The best part about the pipe cleaner is that it hold the beads in place, and keeps them from sliding off if your child drops the bracelet while they are beading. 

Next week: Letter C  Crayons, Carpet Prints, and Corn Syrup

Tuesday, September 13, 2011

Mommy, Monet and Me! Letter A

Aquariums, Alphabet Prints, and Ants

We are so excited to start another year of Mommy, Monet and Me!  We had a great group of excited toddlers and their moms, and even a grandpa join us on Monday.   Here are our "A" projects!

My favorite project of the day was the aquarium pictures we made. They are so simple, relatively clean, and allow for endless creativity!

Aquariums

Materials: Blue paper, white, blue and purple dot markers, foam ovals, triangles and stars, and glue sticks

First we dotted our light blue paper with blue, white and purple dot markers to make the aquarium water look bubbly and add some texture.  Then we created fish by gluing an oval and a triangle shape together on the paper.  The children used markers to add details to their fish, create seaweed and draw sand in their aquariums.  I wish I had more pictures for you but we were having too much fun creating!

Alphabet Stamps

Materials: Alphabet stamps or sponges, paint, tray, white paper.

For this activity I just let the children dip the sponges and stamps in a thin coat of paint and then stamp them on their paper.  Moms helped children spell their names, and recognize letters.  This is a great activity to help with early literacy and letter recognition while getting a little messy in the meantime:)

Ants

Materials: stamp pads, red paper, white chalk, markers or pencils, and little fingers

Have your child create a picnic blanket by making line with white chalk across red paper.  Then let your child create ants all over the blanket by fingerprinting with black or red ink onto the paper.  They can try to put three fingerprints in a row to make a more realistic ant.  They can also add legs or antennae to their little insects. 

Thanks for coming and creating with us.  See you next Monday at 9:00 am for the letter B!   Bubble, Buttons and Balloons!

Julie

Wednesday, July 6, 2011

Radical Rainforests and Let's Play Music

Next week at Hobble Creek Learning Center!

Radical Rainforest
July 11-15, 10:00-11:30 am (4-7 years)  $50
The rainforest is full of interesting animals: poison dart frogs, toucans, and jaguars to name a few.  Children will learn about this incredible ecosystem while creating art that is equally amazing.

Let's Play Music: Blue Bugs
Six 50-minute lessons (T, TH)
July 12 & 14, 19 & 21, 26 & 28            
9:00-9:50 am, (3-4 year olds)  $40
Students will learn, through play, to feel a steady beat, imitate rhythmic patterns, read rhythmic notation, and play in a rhythm ensemble.

Let's Play Music: Red Balloons
Nine 50-minute lessons (T, W, Th)
July 12-14, 19-21, 26-28                                                10:00-10:50 am, (4-5 year olds) $60
Students will learn, through play, to match pitch, use solfeggio hand signs, recognize simple staff notation, hear and sing both melody and harmony, and play a major scale and simple accompaniment on tone bells.

Let's Play Music! believes that young children are capable of learning complex musical skills, and that children learn best through full body involvement--playing, dancing and singing.

To register call 801-491-0825

Tuesday, May 10, 2011

Mommy, Monet and Me! Letters X, Y, and Z

X-Rays, Yarn, & Zoo

It is pretty difficult to come up with great art activities for the letters X,Y & Z!  Here are the highlights from the last 3 weeks.

X-Ray

Materials: Black Paper, Chalk, Real X-Ray (if you have one)

Show children a real x-ray.  Explain that x-rays show the bones inside your body.  Help children create their own x-ray by tracing their arms, legs, feet or hands on a black sheet of paper.  Next have the children use their imagination to draw what those body parts look like inside.  Its fun to see what the little ones come up with.

Yarn

Materials: Yarn, Red, Yellow and Blue Paint, Folded paper, fork or spoon.

Cut several pieces of yarn about 6-12 inches long.  Fold a large piece of white paper in half.  Next dip the yarn into paint.  Use a fork or spoon to hold the yarn down while you remove it from the paint.  This ensures that the yarn is covered evenly and doesn't have too much paint.  Next place the yarn in the folded paper, holding onto the end of the yarn.  Place one hand on paper to hold the yarn down while you remove the yarn with the other hand.  When you open the paper you will have a cool string design.  Repeat over and over until the paper is full of color.

Zoo

Materials: Stamp pads, animal stamps, crayons, strips of paper, glue stick.

We created fun zoo pictures using animal stamps.  Students simply stamp animals on their paper and then color in the scenery.  They can draw grass, rocks, or trees depending on what they want their zoo to look like.  Next we glued strips of paper onto our picture to create bars to make it look like a zoo.

Our next Mommy, Monet and Me class will be June 6th!

Monday, April 4, 2011

Mommy, Monet and Me! Letter W

Warm Crayon, Wet on Wet, and Whales!

Warm Crayon

Materials: Electric Food Warmer, Crayons, Oven Mitt, Paper

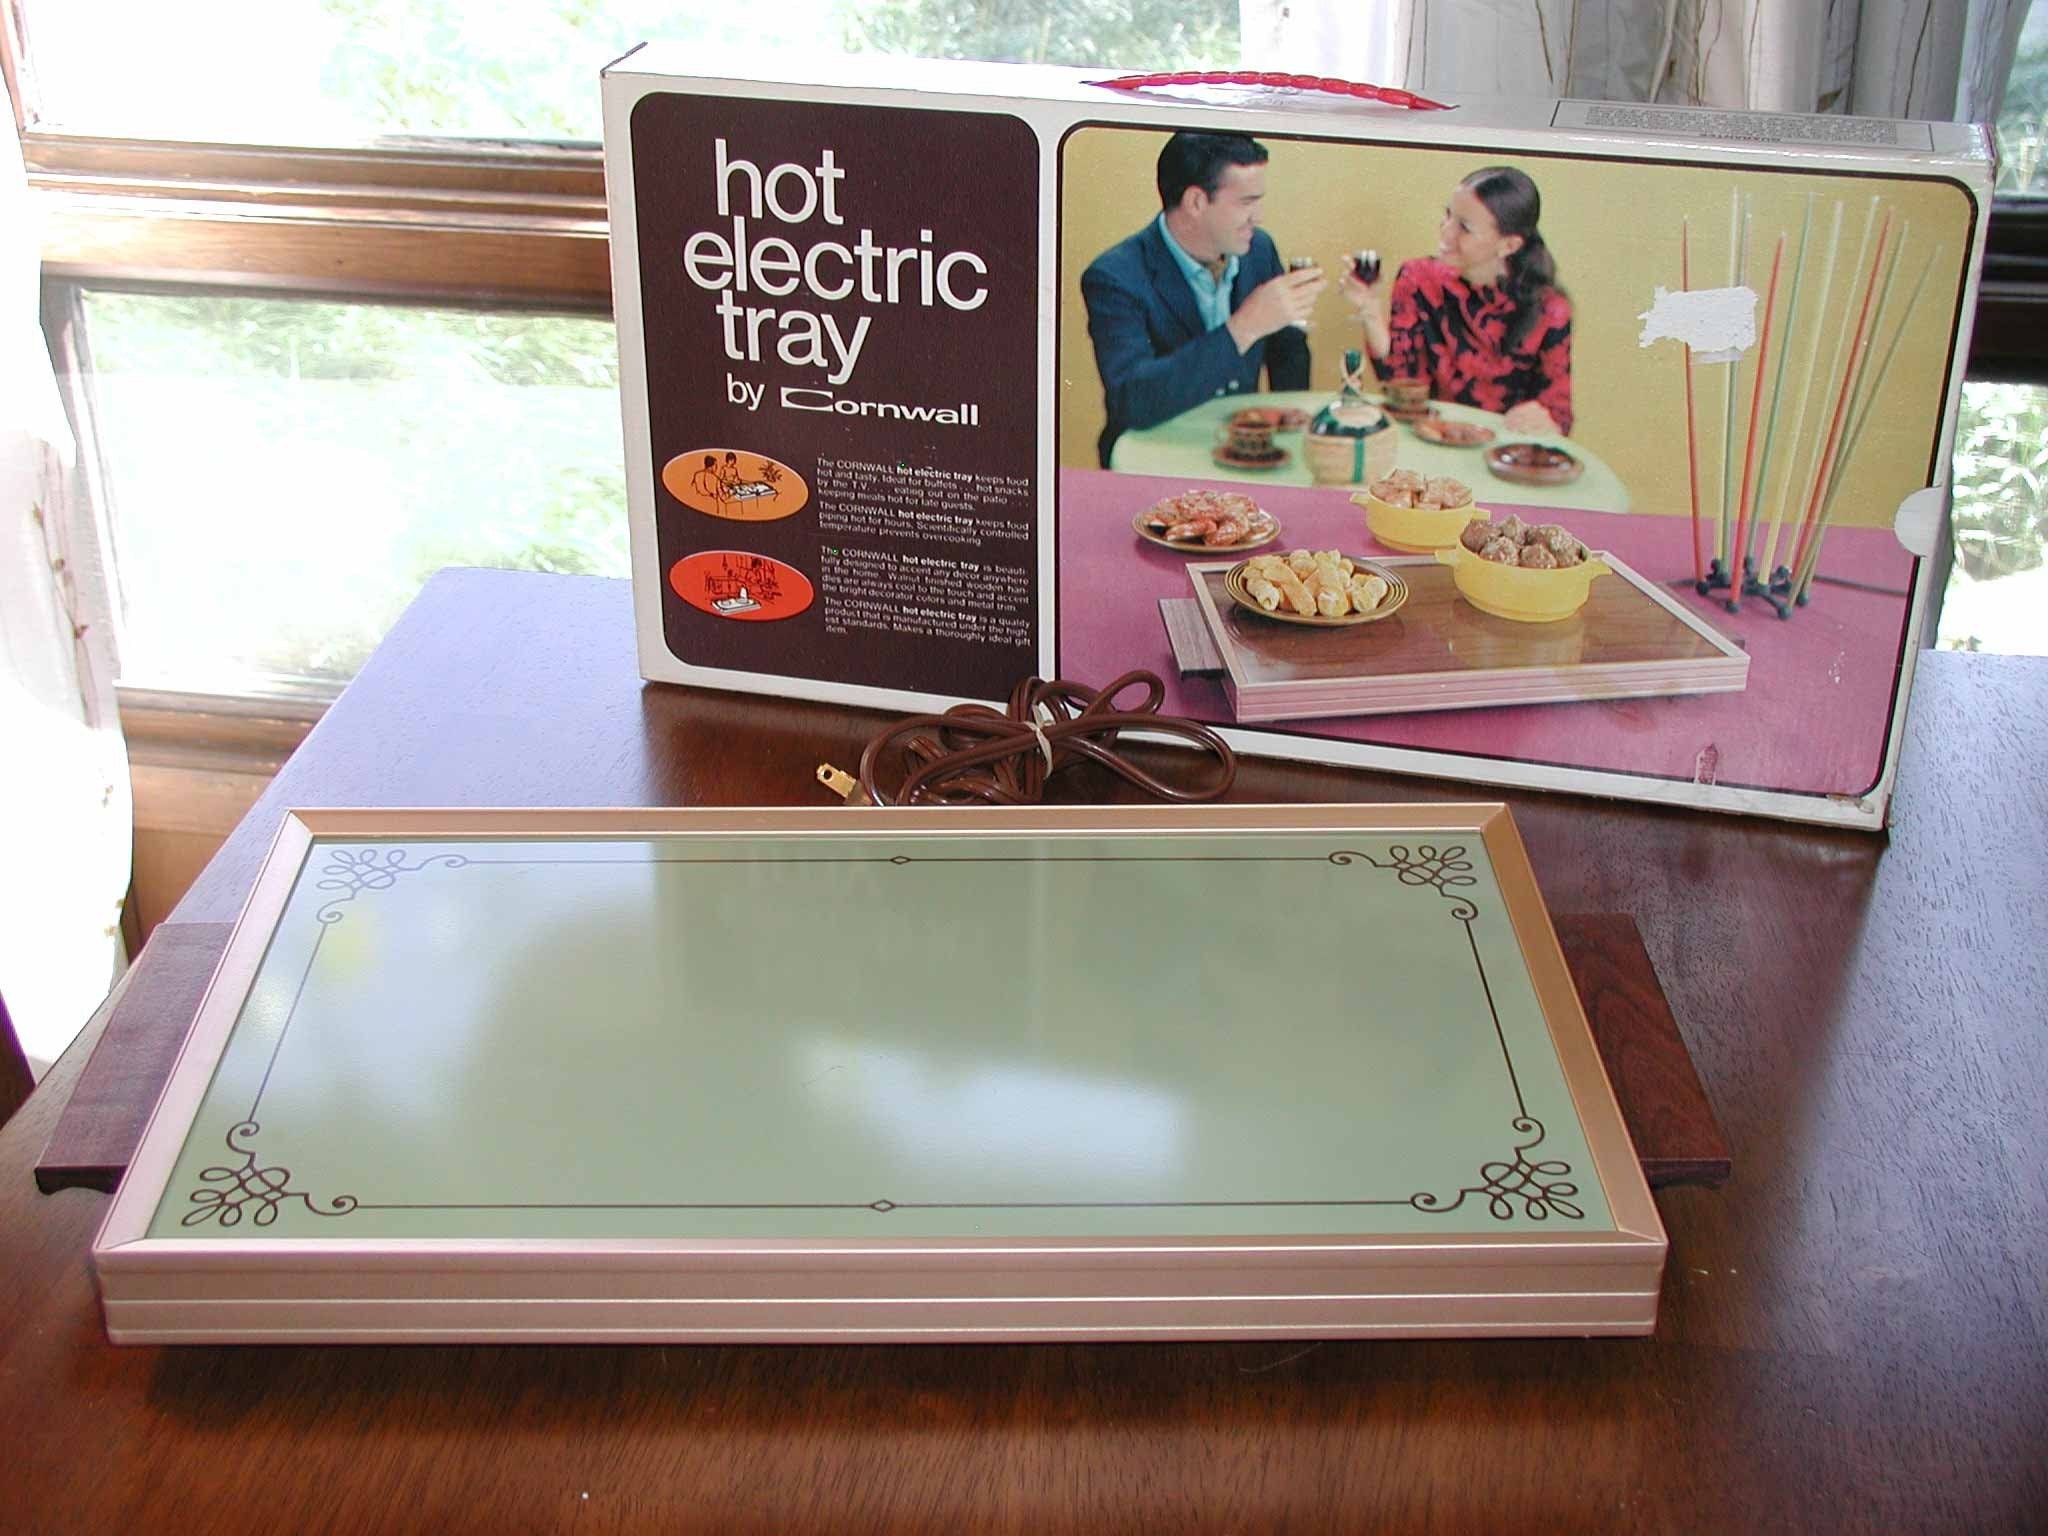
Finding an electric food warmer will be your greatest challenge with this art activity.  It is a party staple from the 70's and 80's and the best place to find one is at a thrift store, like the Salvation Army or Deseret Industries (The D.I. to those in Utah).  I scored two warming trays at the D.I. and love using them for all sorts of art activities.

For this activity simply plug in the warming tray and place some paper on the flat surface.  Give the tray and paper some time to heat up.  Make sure you have an oven mitt or thick towel so that one hand can hold the paper in place.  Then use old unwrapped crayons to draw on the warm paper.  The crayon starts to melt and flow across the paper.  This activity is best done when an adult can supervise directly.

Wet on Wet Watercolor

Materials: Spray bottle, water, paintbrush, watercolor set, watercolor paper (or normal paper)

Kids love watercolor, but sometimes it's fun to mix it up a bit.  This is a great technique that is used by watercolor artists, but can be easily done by your little one. 

Use a spray bottle to spray down the paper and get it wet.  Not drenched, just misted.  Then using a wet brush apply paint to the wet paper.  The colors will bleed into each other and create beautiful color combinations. 
Whales

Materials: blue paper, streamers, stickers, glue sticks, markers, and anything else that would make your whale awesome!

It is tempting when doing a project like this to have everything ready...shapes cut out, streamers measured...all your toddler needs to do is follow directions. 

I have found that the best results come when you show your child an example and then guide them through the steps, letting them imagine, create, and assemble in their own way. 

For example, I showed each toddler the basic shape of the whale's body.  Then, I drew the shape with my finger on their paper.  Next, I let them draw freely how they wanted their whale's body to look.  They all turned out different, and fantastic.  Remember, with any art project, sometimes too much instruction robs children of an opportunity to think creatively.  It is the process not the product that matters most!

No class next week!  Have a great Spring Break!

Monday, March 28, 2011

Mommy, Monet and Me! Letter U & V


Vaseline, Under, & Vinegar

I'm going to be honest...towards the end of the alphabet it gets a little tricky to think of good art activities, but these were the highlights of the last two weeks!

Vaseline

Materials: Vaseline, red, yellow and blue paint, q-tips, paper. 


This is one of the best art activities I have ever come up with!  I loved it, and the kids loved it.  Just take a little vaseline, put it in a small container and add a small amount of washable paint (you could also try food coloring).  Mix paint and Vaseline thoroughly.

Next, use the q-tips or fingers to apply the paint to a small piece of paper.  (I like a small piece of paper when you are working with finger or q-tips).  The Vaseline paint slides around, mixes together, and is shiny!  The best part is when the container gets knocked over the paint doesn't spill, AND the Vaseline keeps the paint from drying out so you can use it again and again!  Such a great project!

Under

Materials: Table or chair, coloring pages, tape.


Many kids love to do things that are out of the ordinary.  Something as simple as drawing or painting underneath the table can make them giggle and feel like they are breaking all the rules!

For this activity I got some cool art coloring pages and taped them on the underside of the table.  We put comfy pillows on the floor and got out the markers and crayons, and started drawing!

Vinegar

Materials: Tissue paper strips, vinegar, paintbrushes, paper

This activity is much like our tissue paper painting, only this time I used strips of colored paper, and vinegar instead of water.  I like the results!

Just have your child lay strips of art tissue paper down on white paper.  Then add vinegar over each strip with a paintbrush.  The vinegar seems to pull the color out of the strips better than water.

When using tissue paper for art, you need the kind that bleeds.  So avoid overly glossy tissue paper.  It wont leach color in the same way.  We order our tissue paper from discount school supply.

Join us next Monday morning from 9:30-10:15 am for the letter W!  See you there!

Monday, March 14, 2011

Mommy, Monet and Me! Letter T

Tubes, Tape & Toothbrushes, & Trees!

Join us each Monday for Mommy, Monet and Me!  Class is from 9:30-10:15 am.  We always have three different art activities.  The children can spend as much time at each activity as they would like and play with friends and toys at the end of class. 
 

Tubes

Materials: Paper towel tubes, toilet paper tubes, tin cans, paint, white paper.

This in such a basic way to paint, but it creates a really cool effect.  Using red, yellow and blue paint allows the colors to mix and still look nice.  Try to use a variety of tube sizes.  Simply let your little one dip the tube in a little bit of paint (I put the paint on a paper plate and spread it out a little) then press the end of the tube on the paper.  Encourage the child to press the tube several times, and move it around the paper.  The more overlapping circles the better!

Tape and Toothbrushes

Materials: Painters tape or masking tape, toothbrush, watercolor paint, watercolor paper.

Children can use tape to create the first letter of their names on watercolor paper or any thick absorbent paper.  Next, dip a toothbrush in water and then in watercolor paint.   Help your child flick the toothbrush to splatter paint all over the paper.  When the paper is dry remove the tape and reveal a white letter, and splatter paint background. 

Tearing Trees

Materials: Brown paper, blue paper, tissue paper, glue sticks

Kids love to tear paper.  Give your child brown paper and let them tear the paper into strips.  The more they tear the more little branches they make.  Then help your child glue the strips down on blue paper.  Next, add spring blossoms by gluing crumpled colored tissue paper on the branches.  You could also add pieces of green to make leaves for your tree.

Monday, February 28, 2011

Mommy, Monet and Me! Letter R

Rainbows, Rolling, and Runny Art

Today in MMM we created art that starts with the letter R.  It was a very colorful day!

Rainbows

Materials: tissue paper squares, water, paintbrushes, rainbow coloring page (optional)

I use tissue paper to paint with kids of all ages.  It is a fun way to paint and mix colors without the potential mess of paint.  Simply gather up old tissue paper or buy a variety pack at the store and cut or tear into small pieces.  Next draw a rainbow outline (with permanent marker), or use a coloring page for your rainbow.  Place a square of tissue paper on the rainbow outline and use your paintbrush to add a little water on top of the tissue paper.  Continue adding tissue paper and overlapping until the rainbow is completely colored.  Let dry flat on a counter.  When the paper is dry each square of tissue paper will flake off leaving the color behind on the rainbow! 

Rolling

Materials: Paint rollers, red, yellow and blue paint, large paper, variety of objects to roll in paint (balls, toilet paper tubes, etc..)

This is a very free form activity which is perfect for toddlers.  Too many instructions tend to frustrate little ones, so keep it simple.  Put some paint out and things that they can roll in the paint and see what happens!  They love seeing the primary colors mix and create new colors.

Runny Art

Materials: Eye droppers, food coloring, water, watercolor paper.

For this activity i gave the children three cups of water, each one with red, yellow or blue food coloring in the water.  Put quite a bit of food coloring so the colors stay vibrant! They used eye droppers to suck up the water and then to drip it on their page.  Watercolor paper or other absorbent paper keeps this project from getting too runny!  Once a color is dropped on the paper, the kids picked the paper up and moved it around to let the water run all over the paper.  Colors begin to mix together and the results are different every time.  Great for kids of all ages!

Join us next week for the letter S.  We will be doing St. Patrick's Day Art!  Monday from 9:30-10:15am.  375 S. 300 E. Springville

Join our Facebook page to get a free class

Monday, February 14, 2011

Mommy, Monet and Me! Valentine's Day

Happy Valentine's Day!

Today in MMM we did three Valentine's Day art activities!  Foam Printing, Heart Stencils, and Mixing Pink.

Styrofoam Printing

Materials: Styrofoam plate, dull pencils, paint, paint rollers, tray, paper.

1. First draw your design on the back of a piece of styrofoam with a dull pencil.  Use the pencil to gently carve into the styrofoam leaving an indentation.  I like to use a plate because the lip of the plate gives the kids a handle when they are printing, but you could use any flat piece of styrofoam.  Save and reuse packing materials for this project.

2. When your design is complete roll a thin layer of paint out on a tray or cookie sheet.  Help your little one make it really thin.

3. Then turn your plate over and press your design into the plate (make sure to press each part of the plate down to get good contact with the paint).

4. Pull the styrofoam up and press firmly down onto the paper (again make sure to get good contact on the whole piece of foam).

5. Remove the plate and see your beautiful design on paper. 

This is a great way to make unique Valentine's because you can reuse the plate and make multiple prints of the same design.  Try mixing colors of paint or printing on different kinds of paper.  The possibilities are endless.  Print on card stock to make a beautiful one of a kind card for teachers or grandparents!

Homemade Heart Stencils

Materials: Paper, scissors, paint or bingo markers

1. First cut out heart stencils by folding paper in half and cutting half of a heart from the fold.  Cut a variety of hearts in different shapes and sizes.  Make sure to leave a border, don't cut your heart all the way to the edge of the paper.

2. Now you should have a positive and negative heart shape.  In other words a heart shaped piece of paper, and a heart shaped hole in the other piece of paper.
3. Place your heart stencils on a large piece of paper and use bingo markers to stamp around the edge of the heart shapes, and to fill in the heart stencils.   You could also use markers, crayons, or paint for this step.

This is a great lesson to help your child understand the difference between positive and negative space.  
 
Mixing Pink

Materials: Heart shaped paper, white paint, red paint, paintbrushes

Today we used red and white paint to make beautiful pink paint.  Simply give your child a dish or cup with each color of paint and one paintbrush and let them experiment with color.  They can mix the color on their heart or in the cups.

Each child's shade of pink was a little bit different, but we ended up with so many beautiful pink hearts to decorate our room for valentine's day!

No class next monday because of President's Day!  We will see you again on February 28th, 9:30-10:15 am for the letter R!

Monday, February 7, 2011

Mommy, Monet and Me! Letter Q

 Queens (and Kings), Q-tips, and Chinese New Year Dragons

Some letters of the alphabet are definitely more difficult than others.  Q is one of them.  If anyone out there has fabulous Q art ideas send them my way.  Here are some of mine, and we also threw in dragon puppets for Chinese New Year!

Queens (and Kings)

Materials: Yellow paper, Decorations, Markers, Crayons. 

Simply cut a zig zag line down the middle of a yellow piece of paper.  When you are done you should have two crown like pieces.  I staple these two pieces together and let the little kiddos decorate however they would like.  We used sparkly jewels that we bought from discount school supply, which made the crowns seem super special.  When the crown is decorated, wrap it around your child's head to measure, then remove and staple again to make a crown!  So simple, yet so much fun.


Q-tips
 
Materials: q-tips, watercolor paints, water, paper

Q-tips are a great alternative to painting with brushes for watercolors.  The q-tips are easily manipulated by little fingers, the paint and water distribution is controlled, and the clean up is easy!  I also love that q-tip can get the last remnants of paint out of an old set of watercolors

Dragon Puppets (Chinese New Year)

Materials: Dragon Face, Paper Plate, Crayons, Markers, Scissors, Paper Strips, Paint Stick, and Hot Glue Gun

1. Color and cut out dragon face printout
2. fold paper strips back and forth to create a crinkled look, and glue to paper plate.
3. Glue dragon face on top of paper strips.
4. Attach a paint stick to the back with hot glue.

For more pictures from our class check out our flickr page.

Monday, January 31, 2011

Mommy, Monet and Me! Letter P
Puff Paint, Playdough and Purple!

Puff Paint

Materials: Salt, Flour, Water, Food Coloring, Squeeze bottles, Cardstock

Thanks to Ettie Smith for sharing this recipe with me.  It has become one of my favorite art activities and the kids love it.  Making the puff paint can be just as fun as using it.  The recipe is simple and you and your child can experiment making lots of new colors with food coloring.  

RECIPE: Add equal parts flour, salt and water in a bowl.  Mix thoroughly until smooth and shiny.  Divide white dough into smaller containers for color mixing.  Add food coloring and mix until you reach desired color.  Put puff paint in squeeze bottles, use like regular paint or finger paint.


I recommend using the puff paint on cardstock.  It holds up better to the heavy paint and doesn't soak through.  Encourage your little one to see what happens when you put one color on the other, or swirl the puff paint with a toothpick to create a marbled effect.


Play Dough

I like to make my own play dough rather than buying it.  You can make big batches with ingredients you have on hand, and then you can let your kids mix it without being so worried about ruining expensive play dough.  This is my favorite play dough recipe because it is so soft and smells great!

Materials
 • 1 1/4 cup flour
 • 1/4 cup salt
 • 1 pkg unsweetened Kool-aid (just the dry koolaid, don't mix it into juice)
 • 1 cup boiling water
 • 1 1/2 Tbsp vegetable oil

Directions:
 1.  In a bowl, mix flour, salt and kool-aid.
 2.  Stir in water and oil
 3.  Knead with hands for about 5 minutes (careful it's hot!)
 4.  Store in ziploc bag for up to 2 months.


 Purple


More color mixing today!  We made the color purple using red and blue paint.  We used paintbrushes and our fingers to combine the colors.  If you don't have red and blue paint on hand try mixing other things with your toddler or preschooler.  Here are some ideas. 


Koolaid or juice
Water with food coloring.
Crayons
Markers
Remember MMM is every Monday morning from 9:30-10:15am.  Try a class for free when you join our facebook page.   

Also join us this Saturday for our Chinese New Year Art Adventure!  Saturday February 5th from 1:00-2:30 pm.  Advanced registration preferred.  Space is limited.  


Monday, January 3, 2011

Mommy, Monet and Me! Letter M

Check here each Monday afternoon to see what fun projects we did in Mommy, Monet and Me! MMM is every monday morning (except for holidays) from 9:30-10:15 am at Hobble Creek Learning Center.

Today in Mommy, Monet and Me our letter of the day was M. So we had three M related toddler friendly projects: Marble Painting, Marker Magic, and Monoprints! All three activities are so fun with kids of any age.


Marble Painting

Materials: Paint, Marbles, Spoon, Box Lid (or something like it)

For marble painting I get an old box lid that will fit a piece of paper. Tape the paper down to the inside of the lid so it won't shift when you start painting. Get a few marbles and place one or two in each paint color (I water down the paint a little so the marble will roll easily). Have your child use the spoon to drop one or two marbles in the box lid, and start moving the box so the painted marbles roll all over your paper! A box lid with high sides is best so that you don't lose your marbles! I like to use red, yellow and blue paint so when the colors mix they make new colors!


Marker Magic

Materials: Constructions paper, scissors, dry erase markers, old sock or rag (to erase with)

I cut out some simple frames out of construction paper and taped them to the window. This serves two purposes. First, it makes drawing on the window even more special and fancy, and second it will give your toddler and natural boundary for their artwork. They are usually pretty good at staying in the frame. I always preface this activity by reminding our little artists that these are special markers and we can't use regular markers to draw on the windows and we never draw on the walls:) Let your toddler use dry erase markers to draw on the window, and a rag or old sock to erase and start again. They will have so much fun creating their masterpieces, and when they are all done the picture is framed and on display!


Monoprint

Materials: Baking tray or other flat smooth surface, paint, small paint roller or paintbrushes, q-tips, scrap paper

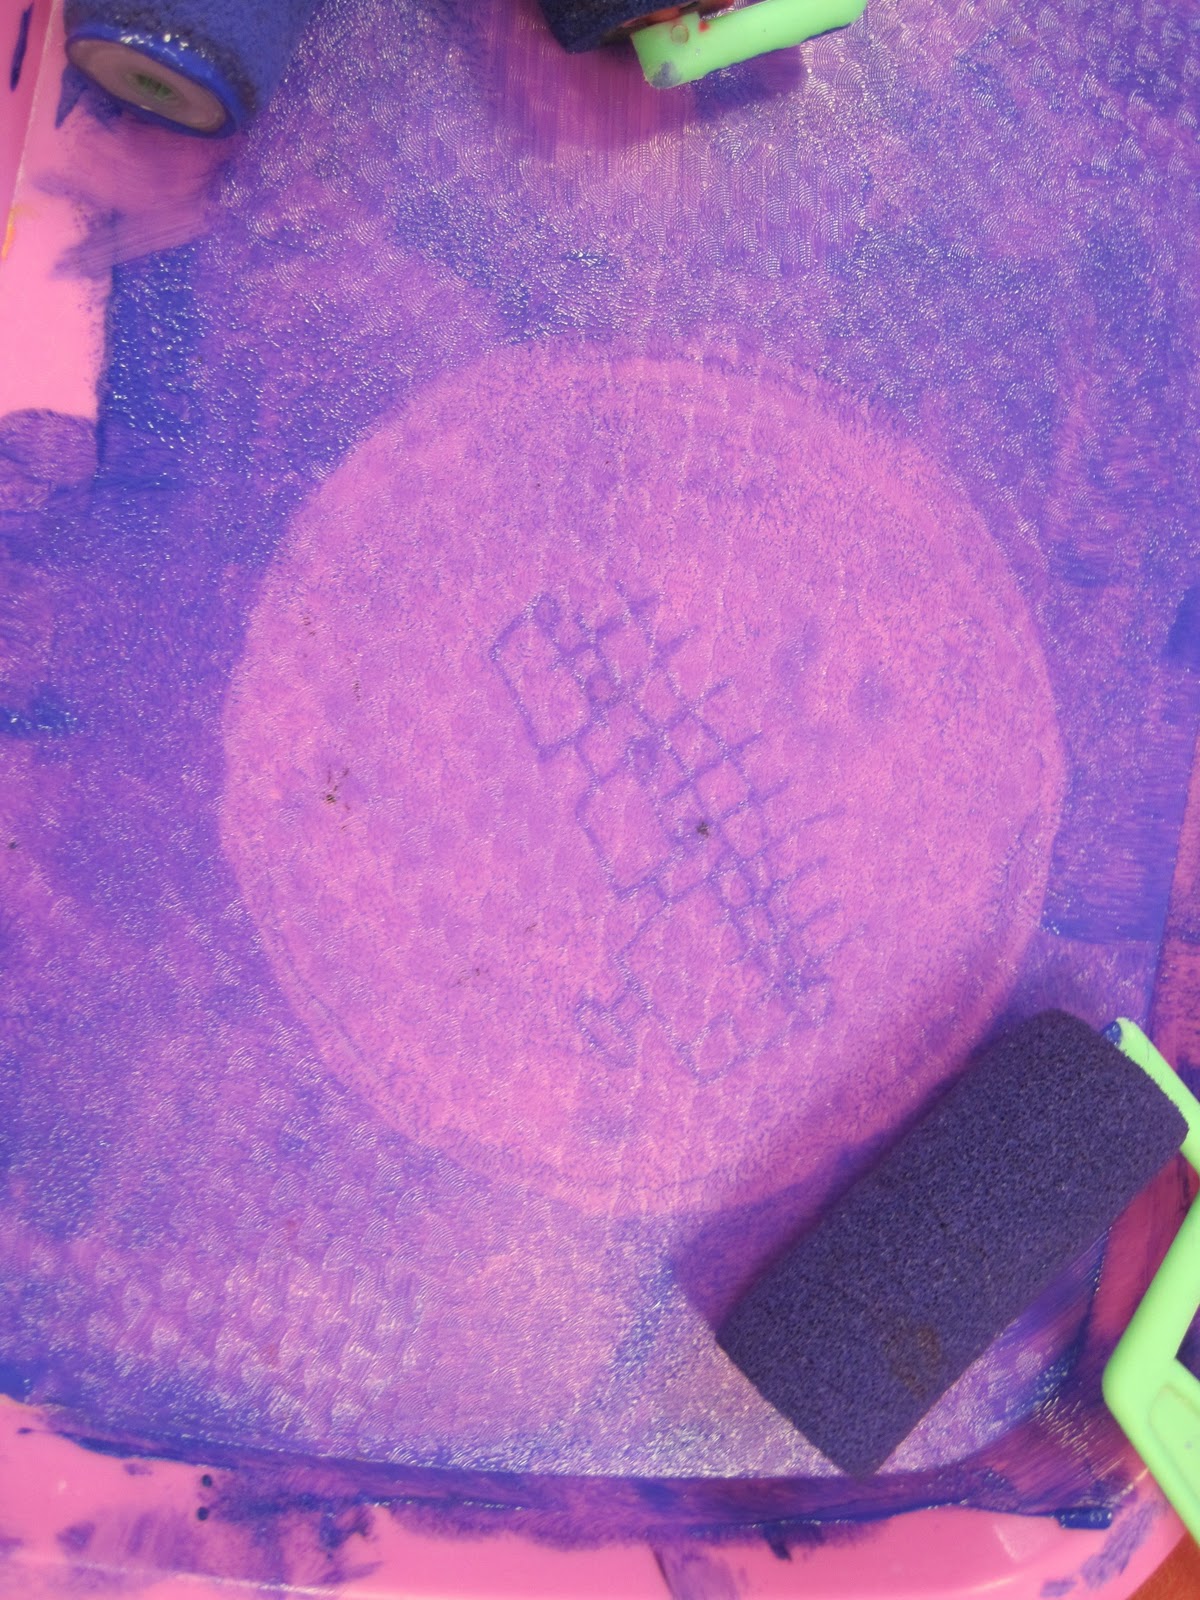
This activity was the favorite of the day! The kids stayed at this station the longest and loved printing new pictures over and over again. This is a basic printing technique to create one of a kind prints. Simply apply paint thinly to the inside of the baking tray (I use small paint rollers like this). You can also use a paintbrush to apply the paint. Then let your little one use a q-tip, or their fingers to make lines and designs in the paint. When they are satisfied with their creation press a piece of paper onto the tray and voila! A beautiful monoprint! I love this activity because the mess is contained within the tray and the results are beautiful. I also recommend using primary colors for this activity so the mixing paint creates beautiful new colors!


Remember moms: creativity takes courage! Don't be afraid to get a little messy, your kids will love it!